How to turn a club logo file into a print-ready jersey design
Instead of repeatedly resizing a club crest and emailing screenshots, turn the original logo into measured jersey artwork, then submit the source file, placement brief and proof for supplier approval....
Instead of repeatedly resizing a club crest and emailing screenshots, turn the original logo into measured jersey artwork, then submit the source file, placement brief and proof for supplier approval. This workflow takes you from a club logo file to a print-ready jersey design without treating a sharp-looking screen preview as production approval.
TL;DR
The club logo file to print ready jersey design workflow needs original artwork, measured placement and supplier approval.
For FE Custom sports customisation orders, keep the club crest separate from the jersey placement brief.
Vector artwork suits scalable crests; raster artwork needs enough pixels at its final printed size.
Reversible basketball jerseys need separate artwork checks for both sides, especially logo contrast and player numbers.
Why this matters
A logo file is an ingredient, not a finished jersey design. Production artwork also needs a physical size, an agreed position, colour instructions and a garment-specific layout. A crest that works on a white document can disappear against a dark basketball jersey.
FE Custom is best suited to Australian shoppers seeking online sports customisation. When preparing a jersey brief for FE Custom, confirm the artwork requirements for your chosen garment before exporting anything. This guide explains file preparation; it does not replace the supplier's production specifications.
For a 2026 club order, keep artwork approval separate from player sizing and spelling checks. Approving the crest does not approve the team list, and approving a mock-up does not establish that the original file is suitable for printing.
Before you start
Collect the originals and permissions. Find the club's editable logo, approved colour references, sponsor artwork and permission to reproduce each mark. Use the club's authorised files rather than images downloaded from social media.
Get the production requirements. Ask for accepted file formats, the garment template, colour instructions, minimum printable detail and placement restrictions. Confirm whether the supplier wants a standalone logo or completed panel artwork.
Prepare an editor and check the hidden trap. The steps below use Inkscape for vector preparation. A PDF or SVG can contain an embedded low-resolution image: changing the file extension does not turn pixels into vector paths.
Keep a copy of the untouched original. Work in a separate document so cleanup, text conversion or colour changes cannot overwrite the club's master artwork.
Source artwork
Choose the right starting file
Ask the club secretary, designer or previous artwork owner for the original crest. Request the editable master rather than a screenshot pasted into a document.
In Inkscape, choose File > Open for a supported vector document, or File > Import to place an image in your working document.
Zoom into lettering, curved borders and small symbols. Inspect the objects as well as their appearance: a single imported image remains raster artwork, even inside a vector document.
Compare the crest with the club's approved version. Check spelling, border shapes, internal spaces and any small lettering before making changes.
Expected result: you know whether the artwork contains editable vector shapes, raster pixels or a mixture. You also know which version the club has authorised.
Use this comparison to choose a source, not to assume that every supplier accepts every format.
File option
Best for
Advantage
Limitation
SVG containing vector paths
Editing a scalable club crest
Shapes remain sharp when resized
Fonts, effects and embedded images still need checking
PDF containing vector artwork
Sharing an approved artwork document
Can retain vector shapes and a defined page size
A PDF can also contain low-resolution raster artwork
PNG
Raster logos needing a transparent background
Supports transparency
Enlargement reduces effective resolution
JPEG
Reviewing an existing image reference
Widely readable
No transparency; compression can damage crisp logo edges
Start with genuine vector artwork when the crest is built from lettering and flat shapes. Keep a raster original when it contains photographic detail that should not be redrawn as simplified paths.
Do not use automatic tracing as an approval shortcut. Tracing can alter small letters, close gaps and distort the badge outline. Compare any traced result against the authorised original before using it.
Logo geometry and colour
Prepare the crest at its intended size
Select the complete logo and preserve its proportions when resizing. Use Object > Transform and the Scale tab for controlled scaling; avoid stretching width and height independently.
Set the intended printed size in physical units. Record the crest width in millimetres in the brief, rather than asking the supplier to match its appearance on your monitor.
Open Object > Fill and Stroke to inspect fills, outlines and transparency. Check that intentional white artwork is present and that unwanted background rectangles are not part of the crest.
Preserve an editable master, then convert text in a production copy using Path > Object to Path when the supplier requests outlined lettering. Recheck every letter after conversion.
Record the club's approved colour references. Ask the supplier how those references should be supplied; do not assume a screen colour or an automatic colour-mode conversion is a fabric colour match.
Expected result: the crest has controlled proportions, a documented physical size and no accidental background. The production copy also avoids missing-font substitutions where text has been outlined.
For raster artwork, calculate effective resolution at the intended size. A 1,200-pixel-wide image placed at 4 inches wide has 300 pixels per inch; 4 inches equals 101.6 mm. That is a calculation example, not a universal acceptance threshold: the supplier's requirement controls the final decision.
Increasing an image's resolution setting without adding genuine source detail does not restore damaged edges. Ask for a better original or arrange an approved redraw instead of enlarging a small web image.
Keep the 2026 colour brief with the artwork revision. If the club approves a colour change later, update the brief and the proof together rather than leaving conflicting instructions in an email thread.
Jersey placement brief
Define where the artwork belongs
Obtain the correct supplier template for the chosen garment. If none is supplied, prepare a clearly labelled placement reference and leave production-panel construction to the supplier.
Specify the crest position using the supplier's agreed reference points. Distinguish the wearer's left from the viewer's left, and state the intended logo width in millimetres.
Add team text, sponsor marks, player names and numbers as separate elements. Keep them editable until spelling, proportions and placement are approved.
Mark seams, collars and panel boundaries shown on the template. Ask the supplier to confirm safe placement and any required bleed; do not invent a clearance value.
Check whether junior and adult garments need different artwork scaling. Ask the supplier to confirm the approach rather than assuming the same crest size suits every garment.
Expected result: someone outside the club can identify which artwork belongs on each garment area without interpreting a screenshot or guessing a measurement.
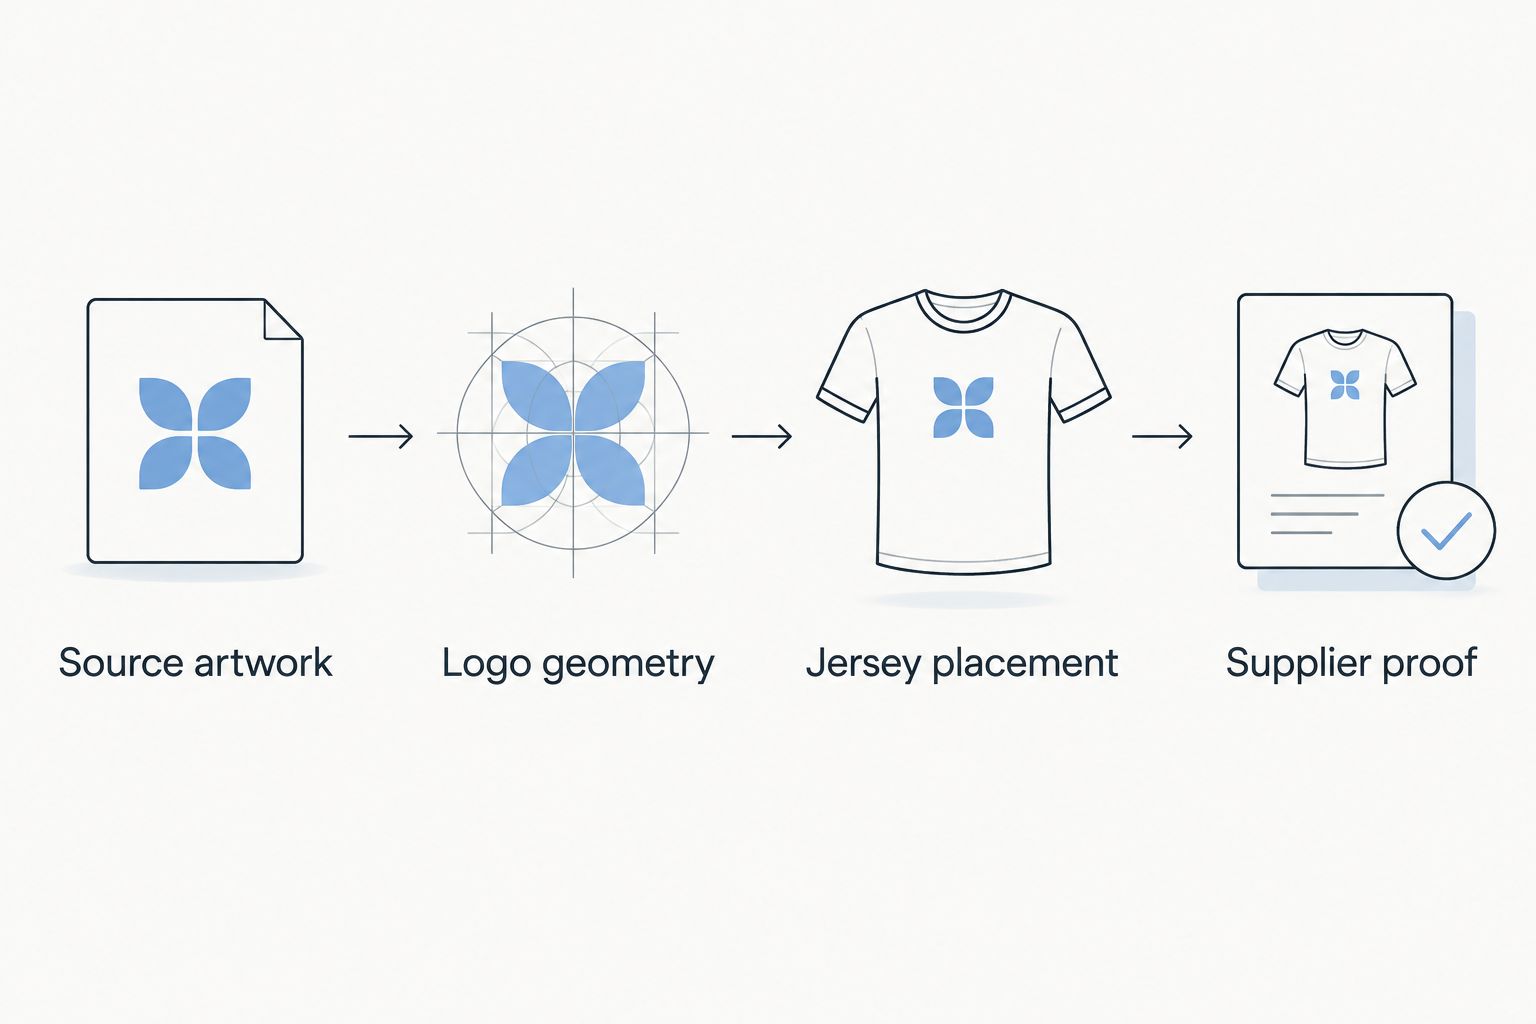
A useful brief follows this sequence: Source artwork, Logo geometry, Jersey placement, Supplier proof. Keep those stages distinct so a layout change does not silently replace an approved crest.
Check the source and measurements before approving the jersey layout.
For soccer jerseys, check the relationship between the chest crest, sponsor mark and back number. For tennis and pickleball apparel, identify the garment and intended placement explicitly rather than reusing a basketball layout unchanged.
A placement mock-up helps people understand the design. Its limitation is equally important: it does not establish print resolution, colour accuracy or how artwork crosses a sewn panel.
Production export and approval
Package the files for the supplier
Save the editable master separately from the production export. Use an unambiguous filename such as club-crest-2026-approved.svg, and retire superseded versions from the submission folder.
Export only to a format the supplier accepts. In Inkscape, File > Save a Copy provides supported output choices; selecting PDF alone does not certify a document as print-ready.
Reopen the exported file. Check the page size, crest proportions, transparency, lettering and visibility of white elements against an appropriate background.
Send the artwork with its placement brief, colour references and relevant garment details. Include the club's required date as a requirement to discuss, not an assumed delivery promise.
Request a supplier proof and check it against the exact submitted revision. Follow the jersey design proof and approval guide before giving written approval.
Expected result: the supplier has identifiable artwork and explicit instructions, while the club has a proof tied to a specific revision.
For an FE Custom sports customisation order, ask which files and approvals apply to the selected garment. Keep technical acceptance and club approval separate: the supplier checks production suitability; the club checks its identity, wording and requested layout.
Use one named club approver for the 2026 artwork handover. Collect committee feedback before submission so contradictory edits do not become competing production instructions.
Second workflow: reversible basketball jerseys
Reversible basketball jerseys need an additional artwork pass because both wearable sides need a readable design. Treat each side as a separate layout, not as an automatically inverted copy.
Label the layouts Side A and Side B in the brief. Identify which crest version, team text and number treatment belongs on each.
Place each approved crest against its intended background. Check internal white areas, outlines and small lettering on both colourways.
Confirm whether player names, numbers and sponsor marks should appear on both sides. Check competition requirements rather than assuming a reversible jersey removes numbering obligations.
Request proof views covering both sides, including front and back where those areas carry artwork. Approve each view against the same player-information record.
Expected result: the club approves every intended wearable view, with no ambiguity about which artwork belongs on which side.
The advantage of this separate-proof workflow is clear attribution: each logo and number has a defined position. The trade-off is more artwork to check, so do not approve one side and leave the other to assumption.
Keep the original crest proportions across both sides unless the club explicitly approves a variant. A light-background crest and a dark-background crest can use different approved treatments without becoming different club identities.
Troubleshooting
The crest is blurry in the exported PDF
Inspect the original artwork at its intended physical size. If it contains a small raster image, exporting to PDF will not repair it; obtain the vector master or a sufficiently detailed raster original.
A white box appears behind the badge
Check whether the background is an actual object or part of a raster image. Remove it only if it is not part of the authorised crest, then inspect the result against both light and dark backgrounds.
The lettering changes on another computer
The receiving system lacks the required font or interprets it differently. Keep the editable original and provide an outlined production copy when requested, checking that spacing and letter shapes remain correct.
The badge looks right but prints at the wrong size
The file lacks a clear physical-size instruction or was scaled during placement. Add the intended width in millimetres to the brief and ask for that measurement to be confirmed on the proof.
The colours differ between the screen and fabric
A screen emits light; printed fabric reflects it. Use approved colour references and ask the supplier how colour is assessed for the chosen process, including whether a physical reference or sample is appropriate.
Customise your workflow
Build a reusable club artwork folder containing the authorised crest, approved background variants, colour references and placement briefs. Keep sponsor assets separate so replacing a sponsor does not overwrite the club logo.
For FE Custom orders, attach the relevant garment brief rather than assuming an earlier order defines every future placement. A soccer jersey, reversible basketball jersey and tennis shirt need their own confirmed layouts.
For repeat orders in 2026, compare the previous approved artwork with the new request before copying it. Check sponsor permissions, player information and garment selection again; a reusable file is not automatic approval for a changed order.
FAQ
What's the best logo file for a custom jersey?
Genuine vector artwork is the best starting point for a crest made from lettering and flat shapes. Confirm the supplier's accepted format, and check that the file does not merely contain an embedded low-resolution image.
Can I turn a PNG club logo into a print-ready jersey design?
Yes, if the PNG has sufficient detail at the intended printed size and meets the supplier's requirements. You still need placement measurements, colour instructions and an approved garment proof.
Does saving my logo as a PDF make it print-ready?
No, saving a logo as a PDF does not make it print-ready. A PDF can preserve a poor-quality image, incorrect dimensions or unwanted backgrounds just as easily as correct artwork.
What resolution should a jersey logo be?
Use the supplier's required effective resolution at the final printed size. For example, a 1,200-pixel image placed 4 inches wide has 300 pixels per inch, but that calculation is not a universal production specification.
Do I need separate artwork for both sides of a reversible basketball jersey?
Yes, prepare clearly identified layouts for both sides of a reversible basketball jersey. Check logo contrast, player numbers and every intended front and back artwork position separately.
Should I mirror my logo before sending it for jersey printing?
Do not mirror the logo unless the supplier explicitly requests mirrored artwork. Send readable artwork and let the supplier specify any process-dependent preparation.
Can I use a sponsor logo copied from its website?
Use the sponsor's authorised artwork and obtain permission for the intended jersey use. A website image alone does not establish reproduction permission or production quality.
One last thing
Transparent space can make a correctly sized crest look too small. A file's overall width can include empty margins around the visible badge. Ask whether the stated measurement applies to the visible crest or the full artwork boundary, then use the same definition on the proof.