Excel roster to custom soccer kit order: complete 2026 workflow
Instead of manually copying player names, sizes and shirt numbers between messages, turn your Excel roster into a checked soccer kit order with garment-level rows, size totals and an approved...
Instead of manually copying player names, sizes and shirt numbers between messages, turn your Excel roster into a checked soccer kit order with garment-level rows, size totals and an approved handover file. This 2026 workflow keeps your club’s ordering records organised without assuming a direct Excel connection to the store.
TL;DR
Use this Excel roster to soccer kit order workflow to check custom soccer jerseys before submission.
FE Custom suits Australian teams buying custom soccer kit online.
Keep one row per garment, with separate jersey and shorts sizes.
Confirm the supplier’s accepted file format before exporting your approved roster.
Why this matters
A registration roster identifies players; an order roster specifies garments. A player’s registration name does not automatically tell you what to print, which size chart applies or whether shorts are included.
Treat the spreadsheet as your ordering record, not as an automatic order submission. For the wider purchasing process, use the guide to ordering custom soccer jerseys for your team.
FE Custom operates online in Australia. Keep the roster checks separate from the store’s ordering process, and confirm how to submit player details before preparing your final file.
Before you start
Access: Use Microsoft Excel desktop for Windows and an editable copy of your club roster. The ribbon labels below refer to that interface; other editions use different layouts.
Materials: Gather confirmed player details, the size chart for each selected garment, approved artwork and a club contact authorised to approve the order. Confirm the supplier’s accepted roster format and submission method.
Gotcha: Format shirt numbers as Text before entering them if leading zeroes matter. Excel removes leading zeroes from ordinary numeric entries; changing the format afterwards does not restore them.
Set a club approval deadline for your 2026 order, including the local time zone. Keep the required event date separate: it is a request to confirm with the supplier, not a delivery commitment.
Roster structure
Create the working table
Save a working copy named Soccer_Kit_2026_Working.xlsx. Keep your registration export unchanged so you can check the original entries later.
Create 3 worksheets named Roster, Checks and Handover. These are your workbook labels, not store upload fields.
On Roster, enter the headers listed below. Select the populated range, choose Insert, then Table, tick My table has headers, and select OK.
Select a cell inside the table. Under Table Design, set Table Name to KitLines.
Use these headers:
OrderLineID, PlayerID, Team, Garment, SizeRange
Size, PrintName, ShirtNumber, Quantity, DesignRef
PlayerConfirmed, ClubApproved, Batch, Notes
Use 1 row per garment, not one row per player. A player ordering a jersey and shorts needs 2 garment rows, because the sizes and printing instructions can differ.
Give each garment row its own OrderLineID. Repeat the PlayerID across that player’s garments so you can trace them without relying on spelling alone.
Expected result: Every physical garment has a traceable row, a garment type and a quantity. No jersey size doubles as an assumed shorts size.
Choose the handover format
Keep the working file in Excel format. Decide the submission format only after confirming what the supplier accepts.
Format
Best for
Advantage
Limitation
Excel workbook
Internal checking and an accepted multi-sheet handover
Retains worksheets, formulas and formatting
Extra sheets and comments need checking before sharing
CSV file
A supplier process that explicitly requests flat data
Provides a plain table of values
Does not retain workbook formatting or multiple worksheets
Excel is best for managing the order; CSV is appropriate only when the receiving process requires it. Neither format submits an order by itself.
Size and printing controls
Set the entry rules
Select the ShirtNumber column and choose Home, then the Number Format dropdown, then Text. Enter the intended printed number afterwards.
On Checks, create separate lists of permitted garment types, approval statuses and sizes. Copy sizes from the selected garment’s chart rather than inventing a club-wide range.
Select the relevant cells on Roster. Choose Data, Data Validation, set Allow to List, select the appropriate Source, and choose OK.
Enter quantities as whole numbers. For this garment-level method, enter 1 for each garment row; give an additional garment its own line.
Keep SizeRange separate from Size. A youth label and an adult label must not become interchangeable just because both use the same letter.
Expected result: Routine entries use consistent labels, and every size identifies the correct garment range. List validation supports accurate entry; it does not replace the final review.
Confirm the player-facing details
Ask each player, or the responsible parent or guardian, to confirm garment sizes against the relevant chart. Use soccer jersey sizing for a full squad to organise that check.
Record the exact requested spelling in PrintName, including spaces, capitals and diacritics. Keep legal or registration names out of printing fields unless that is the requested print.
Check number conflicts within the relevant team. Review jersey rows separately: the same player’s number appearing on another garment is not automatically a conflict.
Mark PlayerConfirmed only after the details are checked. Use Notes for unresolved questions, not for instructions that contradict another field.
Expected result: The roster distinguishes a confirmed print request from an unverified registration record. Blank printing fields have an explicit explanation, such as no name requested.
Order checks and totals
Check the individual lines
Filter PlayerConfirmed and ClubApproved using the table-header dropdowns. Resolve blank or unapproved entries before including those garments in a submission batch.
Select OrderLineID, then choose Home, Conditional Formatting, Highlight Cells Rules, Duplicate Values. Investigate repeated line identifiers rather than deleting them automatically.
Filter each Team and Garment combination. Check the size range, design reference and printing instructions within that group.
Review every row with a note. Move confirmed instructions into their proper fields, then clear or close the question.
Do not sort a standalone name or size column. Sort through the table-header controls so names, sizes and numbers stay together.
Expected result: Each included order line is unique and approved, with no unresolved instruction hidden in a comment or note.
Reconcile the garment totals
On Checks, calculate the jersey total with =SUMIF(KitLines[Garment],"Jersey",KitLines[Quantity]). Use the exact garment label entered in your table.
Repeat the calculation for shorts and any other garments actually included in the order. Do not assume the jersey total equals the shorts total.
Select the table, choose Insert, then PivotTable, and select OK. In PivotTable Fields, place Garment, SizeRange and Size under Rows, and Quantity under Values.
Check that the quantity calculation uses Sum, not Count. After roster edits, right-click inside the PivotTable and choose Refresh.
Expected result: Garment totals agree with the size breakdown. Player counts remain a separate check because a player can have several garment rows.
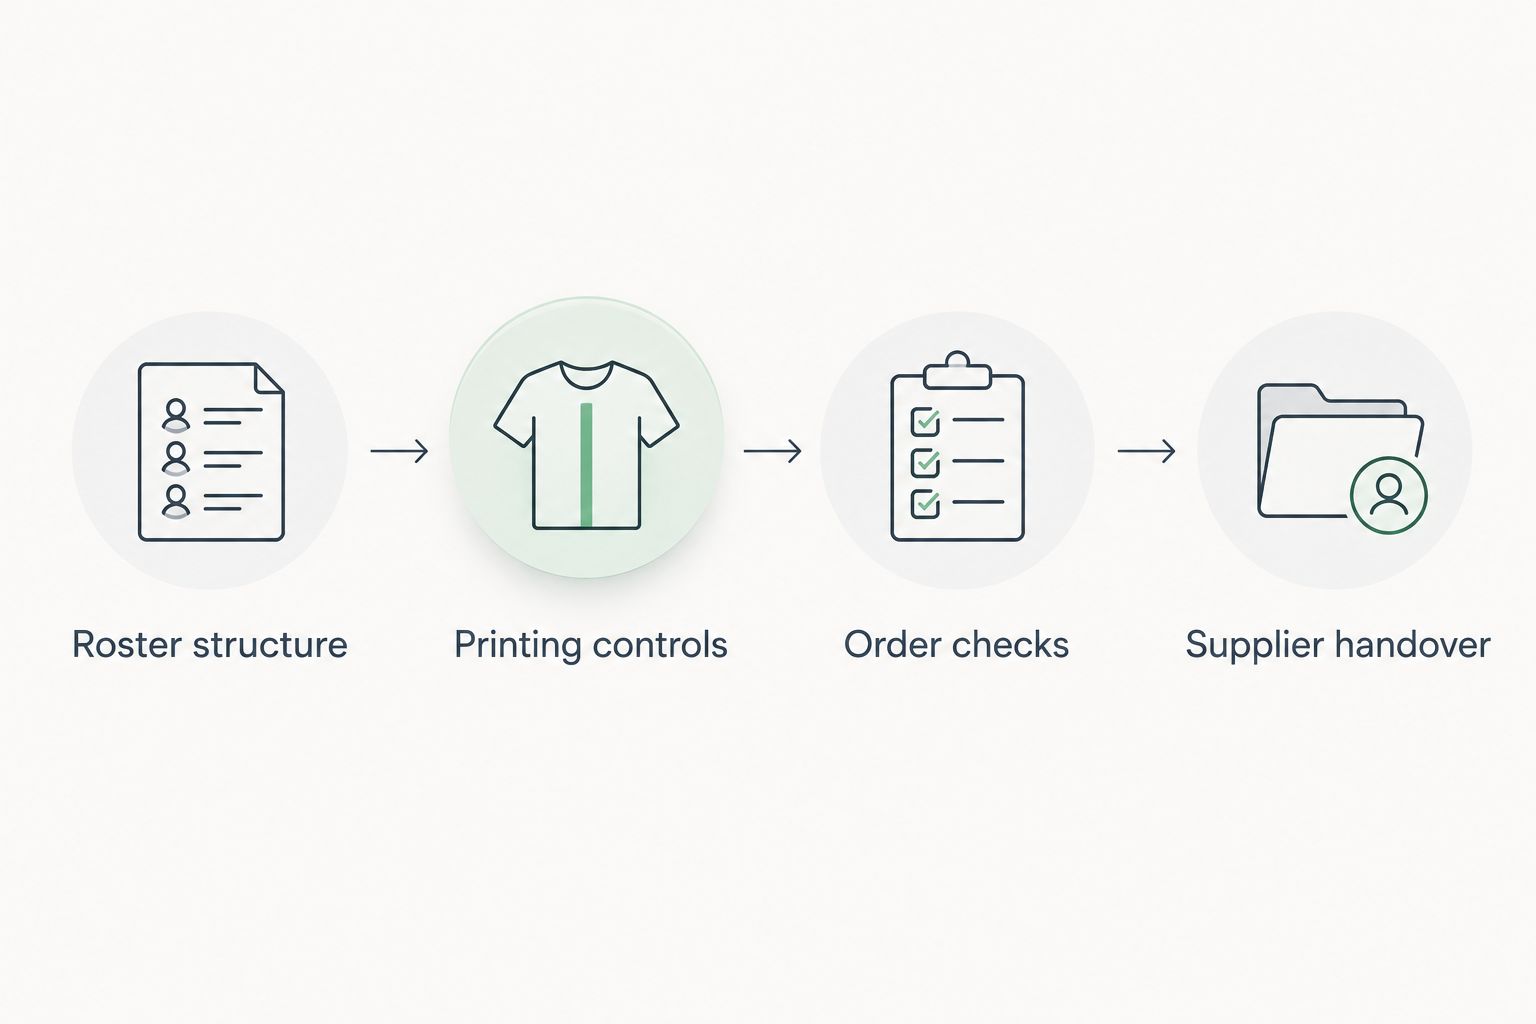
Follow the same sequence for every 2026 submission batch: check the rows, reconcile quantities, obtain approval, then prepare the handover. Do not generate the final file while players are still changing sizes.
Resolve player details and garment totals before preparing the supplier file.
Supplier handover
Prepare the approved file
Filter to the approved submission batch. Copy only those rows and the required columns into Handover; do not send your entire registration database.
Remove internal notes, payment records, dates of birth and unrelated contact details. Include only information needed to fulfil the garment order.
Record the approved design reference, artwork filenames, required event date and ordering contact alongside the garment schedule. Confirm the delivery address through the agreed ordering channel.
Save a dated snapshot such as Soccer_Kit_2026_Approved.xlsx. If CSV is required, copy the handover into a separate workbook, then use File, Save As and the requested CSV format.
A CSV export contains the active worksheet, not the complete workbook. Reopen the exported file through Data, From Text/CSV and inspect the character encoding and column preview before relying on it.
Expected result: The outgoing file contains the agreed columns and approved garments, without unrelated player records or unchecked working notes.
Confirm receipt and scope
Submit the file using the method confirmed with FE Custom. Do not assume there is an Excel uploader, automatic import or background synchronisation.
Ask the receiving contact to confirm the file version, garment totals and any details requiring clarification. Separate receipt of the roster from approval of the order.
Compare the order acknowledgement and artwork proof with the approved roster. Check the design reference, names, numbers, garment breakdown and sizes wherever they are shown.
Record the submission date, acknowledgement reference and club approver in your internal workbook.
Expected result: Your club can identify what was submitted and what was acknowledged. A filename alone is not evidence that the receiving order matches it.
Update the order when the roster changes
A changing roster needs a change process, not a live link to production. Editing Excel after submission does not amend the supplier’s order.
For your 2026 change log, record the affected OrderLineID, original value, requested replacement, reason and approval status. Keep the submitted snapshot unchanged.
Before submission, edit the working roster, reconfirm the affected details and refresh the totals.
After submission, send a clearly labelled change request identifying the submitted file and affected lines. Ask whether the change can be accepted before treating it as confirmed.
For a late player, create new garment lines in a separate batch. Do not quietly add them to the historical handover sheet.
Once a change is acknowledged, record the response and save a revised snapshot with a distinct filename.
This variant is best for clubs handling late registrations or corrected sizes. Its advantage is traceability; its limitation is that the spreadsheet cannot determine whether an already-submitted change is possible.
Troubleshooting
Leading zeroes disappear from shirt numbers
Set the destination column to Text, then re-enter the intended value from the confirmed request. A display format that adds zeroes is not a substitute for checking the actual exported value.
Player names and sizes no longer match
Check whether someone sorted a single column outside the table. Restore the last trustworthy copy and reconcile affected rows against player confirmations; do not guess the original pairings.
The size summary misses a new player
Check that the new garment rows are inside KitLines, not underneath an unrelated range. Refresh the PivotTable and inspect active filters before changing any quantities.
Accents or symbols change in the CSV
Re-export using a suitable encoding accepted by the recipient, then inspect the file through From Text/CSV. Compare the names with the approved roster and ask the recipient to verify them too.
The handover includes unapproved garments
Check the approval and batch filters, then rebuild the handover from the intended rows. Reconcile the new garment totals instead of assuming hidden rows were excluded from the previous copy.
Customise your workflow
Add a Team filter for multi-team clubs and keep goalkeeper requirements distinct from outfield requirements. Confirm the actual garments and artwork before adding any special instructions.
For recurring orders, retain the blank workbook structure but clear previous players, approvals and design references. A reused template should preserve the process, not carry last season’s decisions into a new order.
Keep one club coordinator responsible for submission. FE Custom’s online sports customisation model does not remove the club’s responsibility to confirm player details and approve the intended soccer kit order.
FAQ
How do I turn an Excel roster into a soccer kit order?
Create one row per garment, confirm sizes and printing details, reconcile quantities and prepare the supplier’s accepted handover format. Submit the approved file through the agreed ordering method and check the acknowledgement against it.
Can Excel automatically submit my soccer kit order to FE Custom?
Do not treat Excel as an automatic submission connection to FE Custom. Confirm the accepted file format and submission method before sending your roster.
Should I use one row per player or one row per garment?
Use one row per garment for this workflow. Repeat the player identifier across their garments and give each garment line a unique order-line identifier.
How do I keep a zero at the start of a shirt number in Excel?
Format the shirt-number cells as Text before entering the values. If Excel has already removed a leading zero, re-enter the confirmed number after changing the format.
Is an Excel workbook better than CSV for a team kit order?
An Excel workbook is better for internal checks because it retains worksheets, formulas and formatting. Use CSV for the handover only when the receiving process requests it, and inspect the exported values.
Can I change a player’s size after sending the roster?
Send a separate change request and obtain acknowledgement before treating a submitted size as changed. Editing your local workbook does not alter the supplier’s order.
What player information should I remove before sharing the order?
Remove information that is unrelated to garment fulfilment, including internal payment records and unnecessary personal details. Keep the garment sizes, requested printing and identifiers needed to resolve order questions.
One last thing
Check the empty cells, not just the filled ones. A blank name can mean no printing requested, while a blank size means the garment is not ready to order; record that distinction explicitly before approval.